
Fun Assembly Programming Language
About
It’s a simple token-based modular programming language written in C++.
Authors- Soham Malakar and Sanket Tarafder.
Know About The Authors
Soham Malakar is a student pursuing Bachelor of Science (Hons.) in the Computer Science Department of Scottish Church College, Kolkata. He is very passionate about computers and innovation.
Sanket Tarafder is a student pursuing Bachelor of Technology in the Information Technology Department of Kalyani Government Engineering College, Nadia. He is a computer and data enthusiast.
Overview
It is a Procedure Oriented Programming Language that uses a simple expression evaluator. It stores the variables and elements in a hash table. As the interpreter for this language is rather basic, it does not come with any loops. But loops are easy to obtain using jumps. It has support for user-defined functions to avoid code repetition. It also comes with a minimal file I/O.
The language has a built-in Module System to create modules. It is pretty similar to functions in other programming languages. It makes the language so modular.
Installation
There are few pre-compiled binaries available in the release section. Download the archive from there and extract the files. Then, run the installation script.
Build from Source
If you don’t find any suitable version for your system, please follow the instructions below.
Windows
-
Download the files from here.
-
Extract the files. (You can use 7-Zip to extract.)
-
Run the
install.batscript.
NOTE: Make sure you have the latest g++ compiler installed in your system.
GNU/Linux
Run the following commands in a terminal.
$ git clone https://github.com/SohamMalakar/Fun-Assembly.git
$ cd Fun-Assembly
$ make install
That’s it!
NOTE: Make sure you have git, make and g++ installed in your system.
Usage
After installing the Fun Assembly Interpreter, you can run the following command to run *.fasml files.
$ fasml <filename> [optional arguments]
NOTE: Alternatively, you can use Joi Akash Extension for Visual Studio Code to run *.fasml files.
Extension
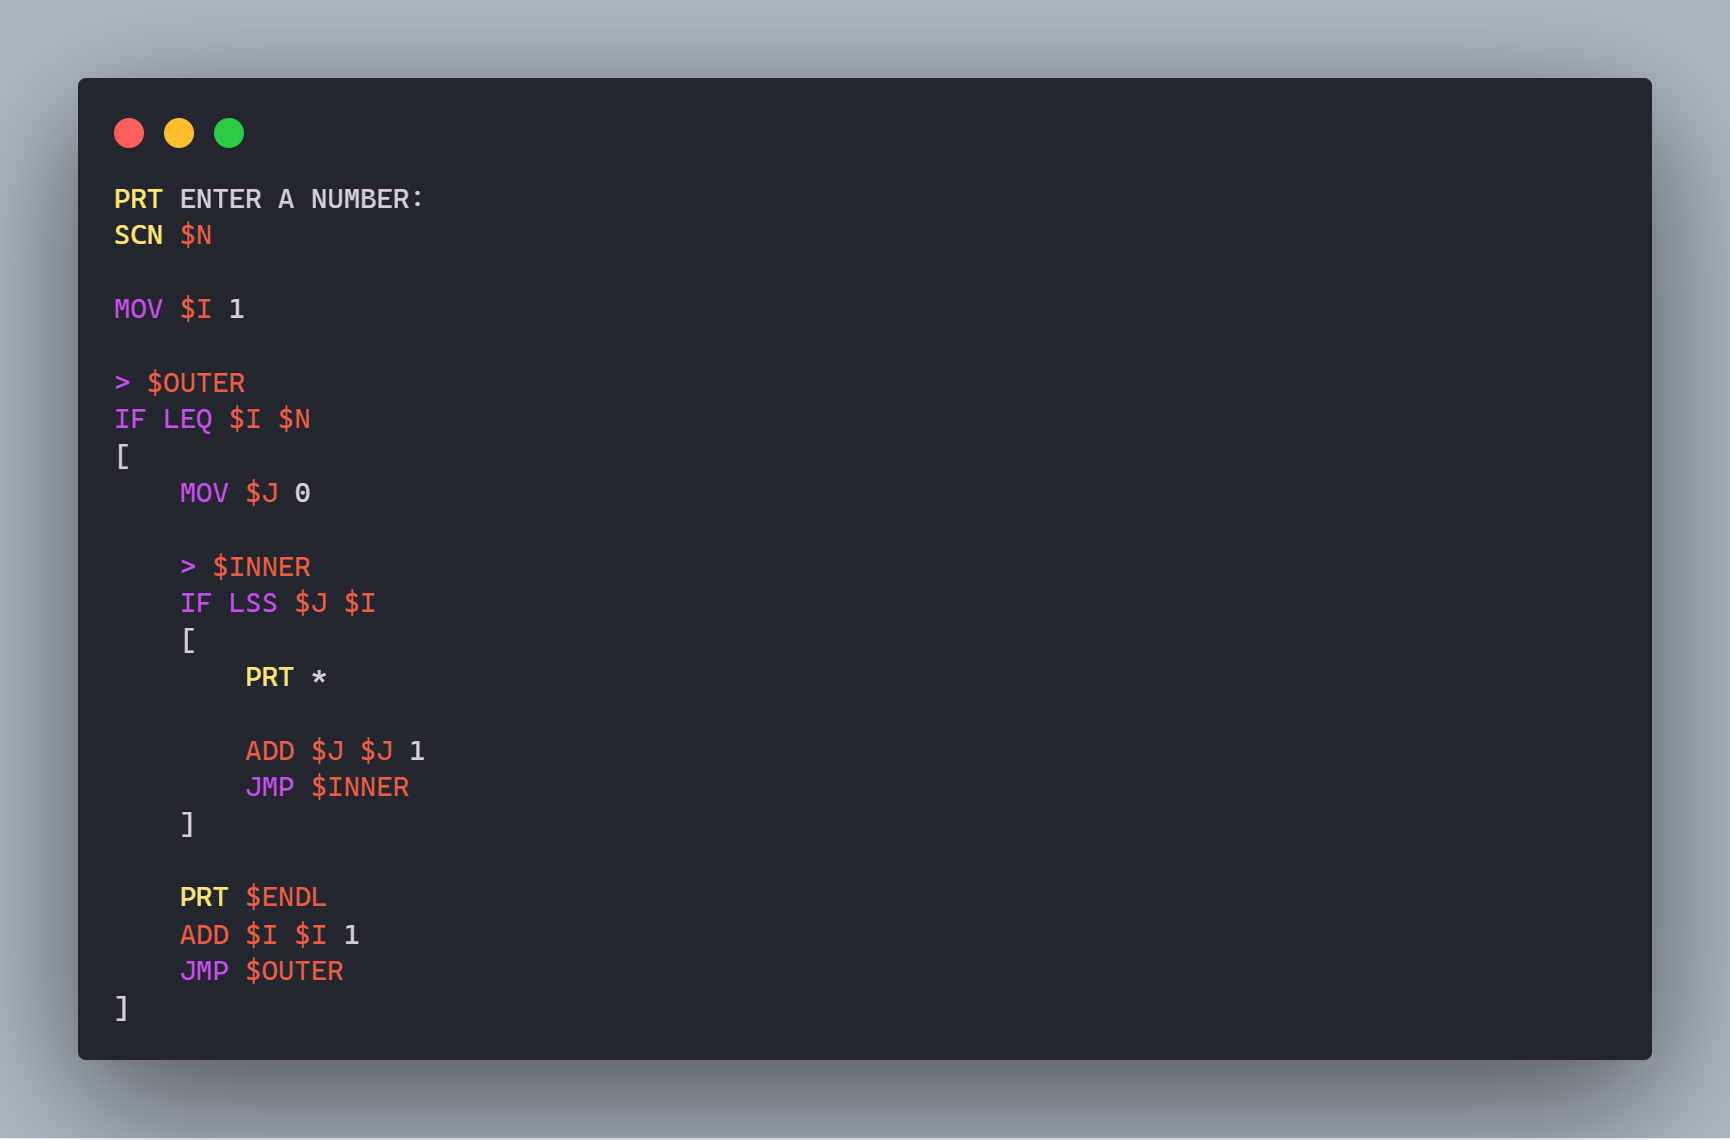
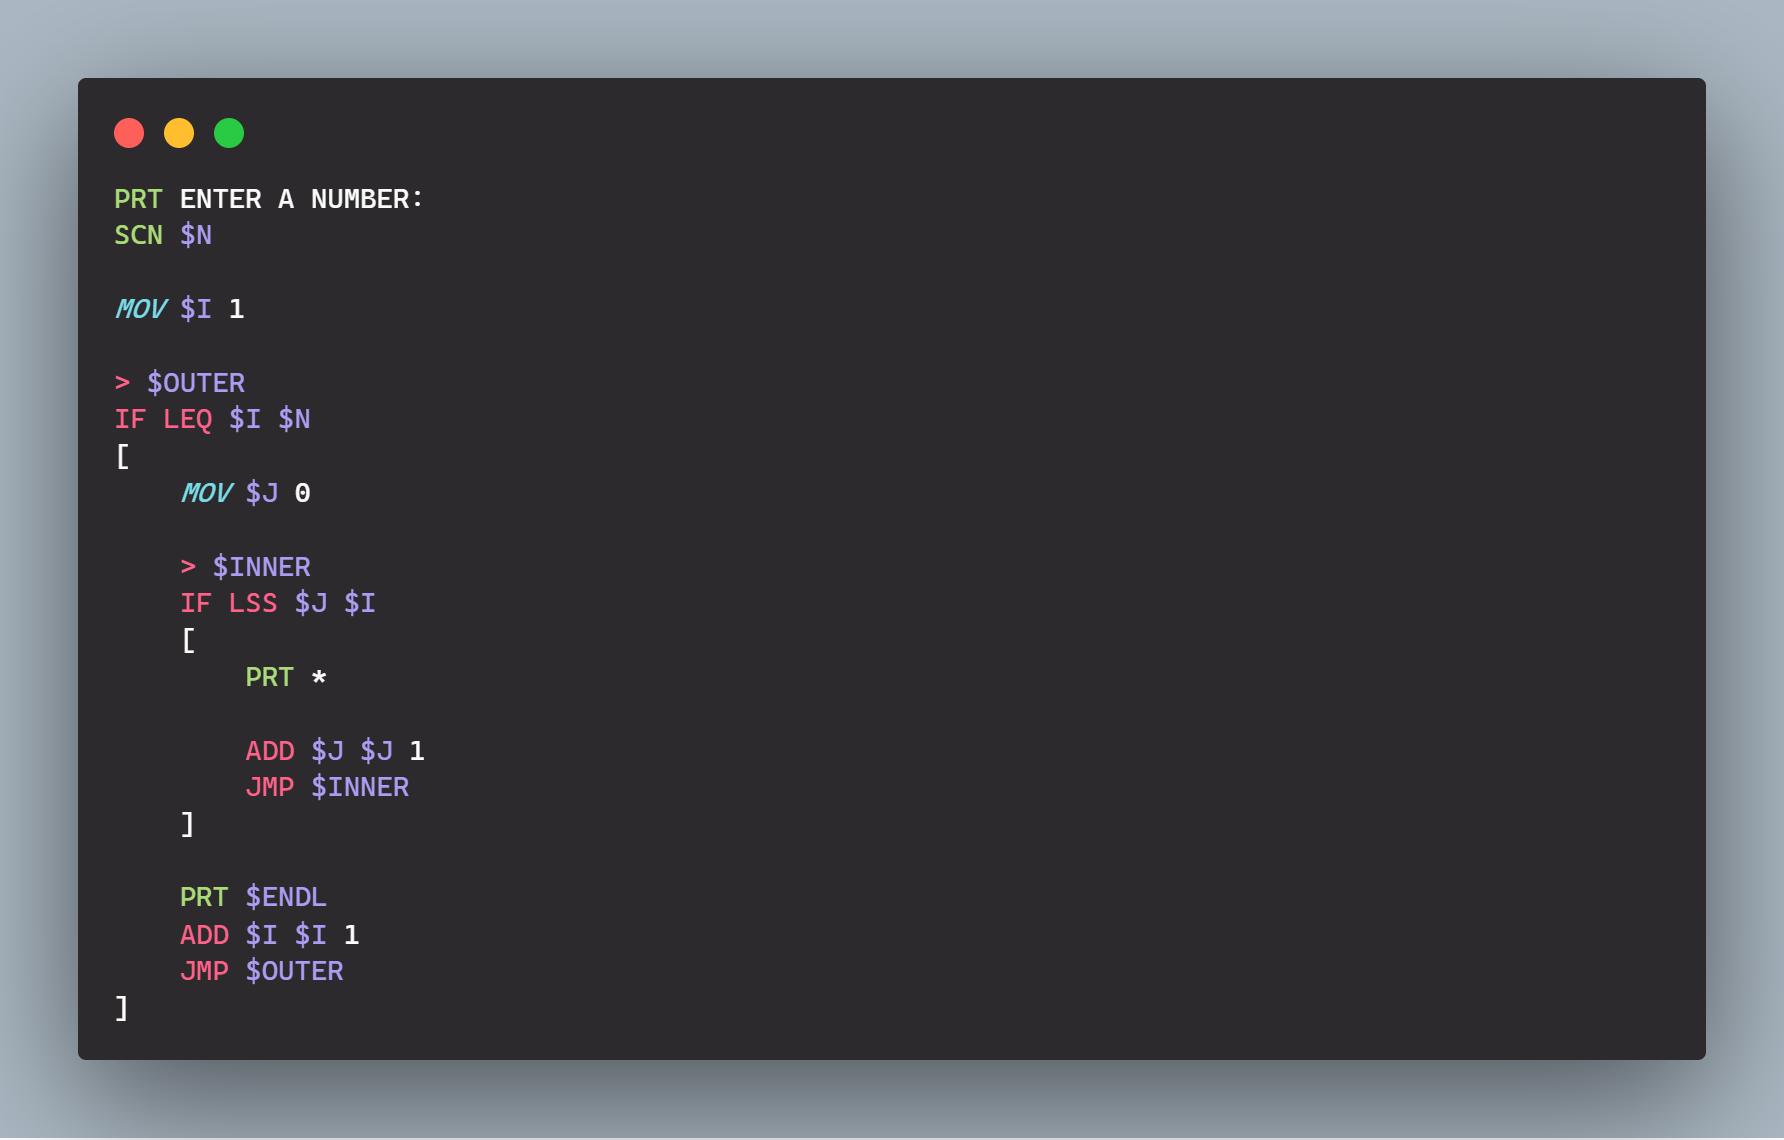
We have also provided the syntax highlighter for this programming language for Visual Studio Code.
| Andromeda | Monokai-Pro |
|---|---|
 |
 |
You can install the extension from Marketplace.
Keywords
There are total 40 reserved Keywords and 8 Logical Operators present in this language which get recognized by this interpreter.
The 40 Keywords with their functions are provided here:
| Keywords | Description |
|---|---|
PRT |
Prints the tokens |
SCN |
Takes inputs from the keyboard |
SCNL |
Takes inputs upto the next newline character |
MOV |
Assigns a value to a variable |
INT |
Converts a variable to an integer |
CHAR |
Converts an integer to its ASCII equivalent |
ADD |
Adds two variables |
SUB |
Subtracts two variables |
MUL |
Multiplies two variables |
DIV |
Divides two variables |
MOD |
Modulo of two variables |
POW |
Raises a variable to the given power |
EXPR |
Evaluates an expression |
AND |
Logical AND of two variables |
OR |
Logical OR of two variables |
NOT |
Logical NOT of a variable |
BAND |
Bitwise AND of two variables |
BOR |
Bitwise OR of two variables |
BNOT |
Bitwise NOT of a variable |
BXOR |
Bitwise XOR of two variables |
LSHIFT |
Left shift of a variable |
RSHIFT |
Right shift of a variable |
IF |
If the condition is true, executes the block |
> |
Creates a label |
JMP |
Jumps to a label |
ARR |
Assigns a value to an array |
ARRI |
Initializes an array |
ARRV |
Assigns the element’s value into another variable |
BYE |
Exits the program |
! |
Comments out any text |
STR |
Stores strings as character arrays |
CAT |
Concatenates strings |
CALL |
Calls a module |
RECV |
Receives values from a module |
RET |
Returns from a module |
FCALL |
Calls a function |
FRET |
Returns from a function |
FREAD |
Reads a file |
FWRITE |
Writes to a file |
FDEL |
Deletes a file |
The 8 Logical Operators with their meanings are provided here:
| Logical Operators | Description |
|---|---|
EQL |
Checks if the two variables are equal |
NEQ |
Checks if the two variables are not equal |
LSS |
Checks if the first variable is less than the second |
LEQ |
Checks if the first variable is less than or equal to the second |
GTR |
Checks if the first variable is greater than the second |
GEQ |
Checks if the first variable is greater than or equal to the second |
SEQL |
Checks if the two strings are equal |
SNEQ |
Checks if the two strings are not equal |
Syntax
The syntax is very simplistic and easy to understand.
Hello World
Here is the Hello World program:
PRT Hello World
Here, the interpreter prints the tokens ‘Hello’ and ‘World’. Tokens are separated by spaces. The interpreter will ignore the spaces. But it’ll print the spaces in between the tokens.
Assignment Operator
To store a variable, we use the keyword MOV.
MOV $var1 Hello
Here, we assign the value ‘Hello’ to the variable $var1.
There are no data types in this language. So, you can assign any type of data to a variable.
Printing Variables
To print a variable, we use the keyword PRT.
PRT $var1
And yes. You can print multiple variables at once.
Printing Special Characters
To print a new line, tab, space, exclamation mark, dollar sign, ampersand, left bracket, and right bracket, we print these predefined variables: $ENDL, $TAB, $SPC, $EXL, $DOL, $AMP, $LBR and $RBR respectively.
PRT Hello World
PRT $EXL
PRT $ENDL
It prints ‘Hello World!\n’.
NOTE: Other special characters can be printed by using
PRTwith the character itself. For example,PRT %prints a percent sign.
Taking Inputs
Input upto space
To take input from the keyboard, we use the keyword SCN.
SCN $var1
Here, the interpreter takes input from the keyboard and assign it to the variable $var1.
And multiple inputs can be taken at once.
Input upto newline
To take input upto the next newline character, we use the keyword SCNL.
SCNL $var1
Here, the interpreter takes input upto the next newline character from the keyboard and assign it to the variable $var1.
Comments
To comment a line, we use the exclamation mark !.
! This is a single line comment
NOTE: This language doesn’t support multi-line comments.
Math Operations
To add, subtract, multiply, divide, modulo, and power two variables, we use the keywords ADD, SUB, MUL, DIV, MOD, and POW respectively.
ADD $var3 $var1 $var2
Here, the interpreter adds the values of the variables $var1 and $var2 and assign the result to the variable $var3.
But it’ll convert the variables to floats before performing the operation.
Logical & Bitwise Operations
To perform logical and bitwise operations, we use the keywords AND, OR, NOT, BAND, BOR, BNOT, BXOR, LSHIFT, and RSHIFT respectively.
Examples
To perform logical AND of two variables, we use the keyword AND.
AND $var3 $var1 $var2
Here, the interpreter performs a logical AND operation on the variables $var1 and $var2 and assign the result to the variable $var3.
To perform logical NOT of a variable, we use the keyword NOT.
NOT $var2 $var1
Here, the interpreter performs a logical NOT operation on the variable $var1 and assign the result to the variable $var2.
To perform left shift operation, we use the keyword LSHIFT.
LSHIFT $var3 $var1 $var2
Here, the interpreter performs a left shift operation on the variable $var1 while shifting by $var2 and assign the result to the variable $var3.
Expression Evaluation
To evaluate an expression, we use the keyword EXPR.
Consider the following code snippet:
MOV $var1 2
MOV $var2 3

EXPR $out ( $var1 + 5 ) * -10 / $var2

PRT $out $ENDL
Here, the interpreter evaluates the expression ( $var1 + 5 ) * -10 / $var2 and assign the result to the variable $out.
Integer Casting
To convert a variable to integer, we use the keyword INT.
INT $var1 $var2
Here, the interpreter converts the variable $var2 to integer and assign it to the variable $var1.
Character Casting
To convert an integer to its ASCII equivalent, we use the keyword CHAR.
CHAR $var1 $var2
Here, the interpreter converts the variable $var2 to ASCII and assign it to the variable $var1.
Labels
In this language, we don’t have loops. Instead, we use labels to jump to a specific point in the program.
To create a label, we use the keyword >.
> $label
Here, the interpreter creates a label with the name $label. It can be used to jump to the label.
NOTE: Behind the scenes, the interpreter creates a variable with the same name as the label and stores the current line number in the variable.
Unconditional Jump
To jump to a label, we use the keyword JMP.
JMP $label
Here, the control jumps to the $label.
If Statements
To implement if-else statements, we use the keywords IF and JMP.
IF LSS $var1 $var2
[
    PRT SUCCESS
    JMP $END
]
IF GEQ $var1 $var2
[
    PRT FAILURE
    JMP $END
]

> $END
Here, the interpreter checks if the value of $var1 is less than the value of $var2. If it is, it prints SUCCESS and jumps to the label $END. Otherwise, it prints FAILURE and jumps to the label $END.
There is no ELSE keyword. So, this is the only way to implement if-else statements.
NOTE: 8 Logical Operators and their meanings are provided above.
Loops
To implement loops, we use the keyword JMP with labels.
> $LOOP
IF EQL $var1 $var2
[
    JMP $LOOP
]
Here, the interpreter checks if the values of the variables $var1 and $var2 are equal. If they are, the interpreter jumps to the label $LOOP. Otherwise, it exits the loop.
Arrays
Store an element
To store an element in an array, we use the keyword ARR.
ARR $array $index $value
Here, the interpreter assigns the $value to the $array at the $index position.
Initialize an array
To initialize an array, we use the keyword ARRI.
ARRI $array 1 2 3 4 5
Here, the interpreter initializes the $array with the values 1, 2, 3, 4, and 5.
Access an element
To access an element in an array, we use the keyword ARRV.
ARRV $var1 $array $index
Here, the interpreter assigns the value at the $index position in the $array to the variable $var1.
Print an element
Now, to print the element at the $index position in the $array, we can use any of the following methods:
Method 1:
MOV $index 0
ARRV $var1 $array $index
PRT $var1
Here, the interpreter assigns the value at the $index position in the $array to the variable $var1. Then, it prints the value of $var1.
Method 2:
PRT $array(0)
Here, the interpreter prints the value at the 0th position in the $array.
NOTE: However, you can’t iterate an array using method 2.
Passing an array to a module
You can’t pass an array to a Module System. To avoid passing an array, you can use the Functions.
Since there is no scope in a standalone file, you don’t need to pass an array. Everything is global and accessible to all functions in a standalone file.
NOTE: What are the differences between the Functions and the Module System?
Strings
Create a string
To create a string, we use the keyword STR.
PRT Enter your name:
PRT $SPC
SCNL $name

STR $name
The above code snippet takes a string as input and stores it as a string in the memory.
NOTE: The interpreter creates an array with the same name as the string and stores the string in the array. It also adds a null character at the end of the array.
Iterate a string
To iterate a string, use the code snippet below:
STR $str
MOV $i 0

> $loop
ARRV $c $str $i

IF SNEQ $c NULL
[
    PRT $c
    ADD $i $i 1
    JMP $loop
]
Here, the interpreter iterates the string $str and prints each character upto the null character.
NOTE: Here,
NULLis the null character. It denotes the end of the string.
Concatenate multiple strings
To concatenate two or more strings together, we use the keyword CAT.
CAT $str3 $str1 $str2
Here, the CAT keyword concatenates the strings $str1 and $str2 and assign the result to the variable $str3.
Bye
To terminate the program, we use the keyword BYE.
BYE 0
Here, the interpreter terminates the program with the exit code 0.
The & Operator
What is the & operator? (e.g. &var)
It’s an indirect operator. It works like pointers but only one level.
Working
TL;DR: &var -> $ + value of $var
Usage
- We can use the
&operator to iterate over command line arguments.
Example
Consider the following code snippet:
MOV $var1 3
MOV $var2 var1

PRT &var2
Output:
3
Here, &var2 gets converted into $ + value of $var2. So, the interpreter treats &var2 as $var1.
Command Line Arguments
Execute programs with arguments
To execute a program with arguments, do the following:
-
Open a new terminal or command prompt and run the following command:
$ fasml samples/iterate_over_args.fasml C C++ Python Java
Here, we are running the file iterate_over_args.fasml with the command line arguments C, C++, Python, and Java.
Accessing arguments
These variables are created by the interpreter and are used to access the command line arguments.
$0: The name of the program.$1,$2and so on: Arguments passed to the program.$ARGC: The number of command line arguments.
Example
The iterate_over_args.fasml file contains the following code:
MOV $I 0

> $LOOP
IF LSS $I $ARGC
[
    INT $I $I
    PRT &I
    PRT $ENDL

    ADD $I $I 1

    JMP $LOOP
]
Here, the interpreter iterates over the command line arguments and prints them.
NOTE:
&Igets converted into$0,$1,$2, and so on every time the interpreter executes the loop.
File I/O
Read from a file
To read from a file, we use the keyword FREAD.
FREAD $buf $filename
Here, the interpreter reads the contents of the file $filename and stores it in the buffer $buf.
Write to a file
To write to a file, we use the keyword FWRITE.
FWRITE $filename $content
Here, the interpreter writes the contents of the buffer $content to the file $filename.
Delete a file
To delete a file, we use the keyword FDEL.
FDEL $filename
Here, the interpreter deletes the file $filename.
Exception Handling
To handle exceptions in file I/O, we use an exception handler.
FREAD $buf $filename $except
FWRITE $filename $content $except
FDEL $filename $except
If file I/O fails, the value of $except is set to 1 else it is set to 0.
Module System
Create Modules
To create modules, follow the following steps:
-
Create a file with the extension
.fasmlin the same directory as the main file. -
Now, you have to define the module.
-
After defining the module, you can return values from it by using the keyword
RET.RET $var1 $var2Here, the interpreter returns the values of the variables
$var1and$var2to the caller.
NOTE: A module is nothing but a typical fasml file with
RETkeyword(s).
Call Modules
To call the module, use the keyword CALL.
CALL module_name $arg1 $arg2
Here, the interpreter calls the module module_name and passes the values of the arguments $arg1 and $arg2 to it.
NOTE: The
module_nameshould be the same as the module name without the extension.
Accessing Arguments
To access the arguments of the module use $1, $2, and so on.
MOV $var1 $1
Here, the interpreter assigns the value of the 1st argument to the variable $var1.
NOTE:
$0is the relative path of the module and$ARGCis the number of arguments passed to the module.
Receiving Values from Modules
To receive the return values from the module, use the keyword RECV after calling the module.
RECV $var1 $var2
Here, the interpreter assigns the values of the returned variables to $var1 and $var2.
NOTE: Before calling another module, you have to receive the return values from the previous module. Otherwise, the return values will be lost.
Functions
Define Functions
To define a function, follow the following steps:
- Use a label to start defining the function.
- Define the function.
- Return the control to the caller. (Use the keyword
FRET)
Consider the following code snippet:
> $func
    PRT hello world
    FRET
Call Functions
To call a function, use the keyword FCALL followed by the label of the function.
FCALL $func
Here, the interpreter calls the function $func.
Example
An example of a function would be the following:
MOV $n 5
FCALL $fact
PRT $f

BYE 0

> $fact
    MOV $f 1
    MOV $i 1

    > $loop1
    IF LEQ $i $n
    [
        MUL $f $f $i
        ADD $i $i 1
        JMP $loop1
    ]

    FRET
NOTE: You can define multiple functions in a single file. However, you can’t call them from other modules. You need to call them within the same file.
Differences between Module System and Functions
| Modules | Functions |
|---|---|
| You can define only one module in a single file. So you will be needing multiple files to define multiple modules. | You can define multiple functions in a single file. |
| You can pass and return multiple values from a module. | You can’t even pass and return a single value from a function. |
| Useful for creating a library of functions. | Useful for working with global variables. |
Samples
There are some examples in the samples folder. You can analyze them to get a better understanding.
Contribution
If you want to contribute to this language, feel free to open an issue or create a pull request.